This site is supported by our readers. We may earn a commission, at no cost to you, if you purchase through links.
 Tired of crunchy, flaky curls when styling with gel?
Unlocking bouncy, defined curls without the crunch is possible.
Discover the art of gel casting – a game-changing technique that coats strands in a temporary cast, allowing curls to set beautifully.
Master this method to effortlessly style curly hair with gel, achieving frizz-free definition and touchable softness.
Embrace your glorious curls with newfound confidence.
Table Of Contents
- Key Takeaways
- How to Style Curly Hair With Gel?
- Gel Styling Techniques
- Benefits of Using Gel on Curls
- Gel Recommendations
- Troubleshooting Gel Flaking
- Frequently Asked Questions (FAQs)
- What is the best way to refresh curls without using water?
- How long should I wait before refreshing my curls after wash day?
- Can I use a different type of towel to scrunch out the crunch?
- Is it necessary to use a diffuser when refreshing curls?
- Can I use a different product to replace gel in my curl styling routine?
- Conclusion
Key Takeaways
- Gel casting is a transformative technique that involves applying gel to wet curls and allowing them to air dry or using a diffuser, creating a temporary cast that results in bouncy, defined, and frizz-free curls once broken.
- The scrunching technique, where gel is gently scrunched onto the surface of the curls without raking, plays a crucial role in achieving the desired curl definition and avoiding flakiness.
- Choosing the right gel is essential for curly hair styling success; alcohol-free formulas with high hold, like Schwarzkopf Taft Mega Styling Gel, are recommended to enhance curls without leaving a crispy residue.
- To prevent gel flaking, it’s important to test the compatibility of the gel with other hair products, apply gel to wet hair using the correct technique, and ensure hair is properly conditioned to maintain hydration and curl definition.
How to Style Curly Hair With Gel?
To style curly hair with gel, follow these steps:
- Choose a light-hold gel that is free of alcohol, sulfates, silicones, and parabens. Apply it to wet hair as the last step in your routine, keeping it two inches from the roots for lift and movement.
- Apply the gel evenly by taking sections and distributing it evenly. Avoid globbing it on, as this can cause spotty buildup.
- For a flake-free hold, opt for gels that provide great definition without drying out your strands or weighing curls down.
- To break the cast and soften the gel, scrunch your curls gently once your hair is completely dry.
- Use your diffuser again on medium heat and low speed to warm up your hair, which can soften the gel and make it easier to scrunch out the crunch.
Gel Styling Techniques
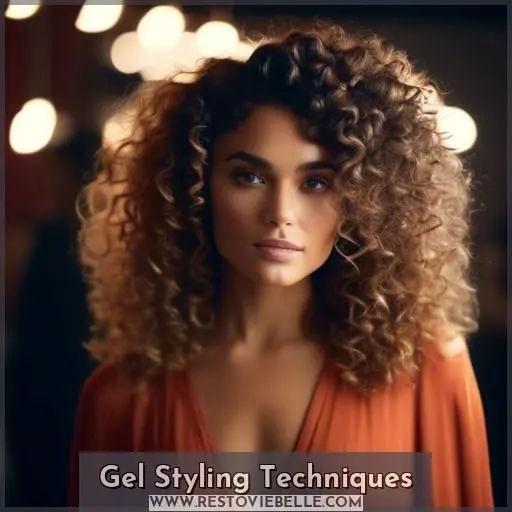
Ready to tame the wild tresses and turn heads with your curls? Let’s dive into the art of gel application. Picture this: you’re fresh out of the shower, curls dripping with potential. Grab your trusty gel and let’s get to work. Spread it on your palms and glide over your curls like you’re smoothing the surface of a lake—no raking allowed. Now, here’s the secret sauce: the scrunching technique. Cup those curls and scrunch upwards as if you’re cradling a bouquet of springy spirals. It’s like giving your hair a pep talk to spring into action.
Patience is your new best friend as you let your locks air dry or use a diffuser to coax them into place. Remember, mixing products is like a dance—find the right partner, and you’ll avoid that dreaded flaky fallout. Once dry, it’s time to break the gel cast, revealing soft, bouncy curls that’ll make you the envy of the curly-haired universe.
Benefits of Using Gel on Curls
Embrace the power of gel to unlock the secrets of bouncy, **frizz-free curls. By applying gel to wet hair as the final step in your curl styling routine, you’ll enjoy a host of benefits that go beyond just hold. Gel is meticulously designed to enhance curl definition, reduce frizz, and retain moisture in your curls. It also protects your hair from damage, keeping it healthy and vibrant.
When it comes to choosing the right gel, look for one with a high hold and an alcohol-free formula**. Schwarzkopf Taft Mega Styling Gel, for example, is a great option that delivers on both fronts. But remember, not all gels are created equal. It’s essential to navigate the complexities of the gel world to find a product that suits your hair type and preferences.
In the realm of styling products, gel is a game-changer. It’s not merely a tool to keep your curls in place; it’s a bespoke solution tailored to your needs. Whether you’re seeking more than just hold or looking for a product that underpins your curl definition, gel is the way to go. So, don’t shy away from the world of gel; embrace it and unlock the secrets to your best curls yet.
Gel Recommendations
When it comes to styling curly hair with gel, choosing the right formula is crucial.
- Alcohol-Free Gels: Alcohol can be drying and damaging to curly hair. Opt for alcohol-free gels that provide hold without stripping your hair of moisture.
- High Hold Gels: For those with thicker or more unruly curls, high hold gels can help maintain definition and keep your curls in place.
- Schwarzkopf Taft Mega Styling Gel: This gel is a popular choice among curly hair enthusiasts for its alcohol-free formula and high hold. It’s designed to enhance your curls without leaving a crispy residue.
Troubleshooting Gel Flaking
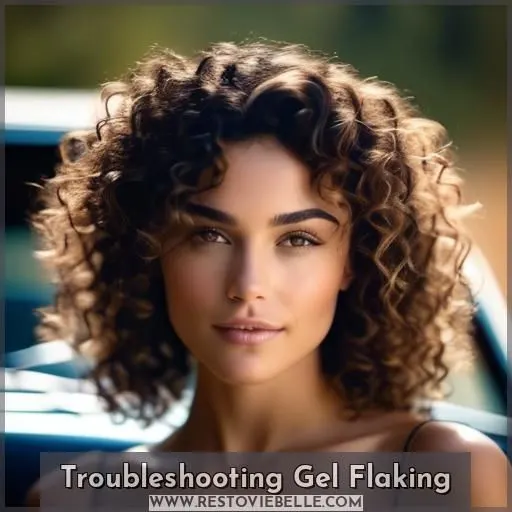
Navigating the complexities of **gel styling for curly hair can be a daunting task, especially when it comes to avoiding gel flaking. This unwanted residue can be a source of frustration, but with a few simple tips, you can prevent it from occurring.
Firstly, consider the compatibility of your gel and conditioner or styling cream. Test the products by mixing them in the palm of your hand. If they bead up or roll into a ball, they’ll likely flake in your hair. Opt for a gel with an alcohol-free formula and high hold to minimize the risk of flaking.
Application technique is crucial. Apply gel to wet hair, using an open palm to gently scrunch it onto the surface of your curls. Avoid raking the gel through your hair, as this can cause flaking. Allow your hair to dry completely before scrunching out the crunch to remove the gel cast. This will help maintain your curl pattern and reduce frizz.
Hair conditioning is also essential. Use a conditioner designed for curly hair to keep your strands hydrated and prevent dryness at the ends. This will further enhance the benefits of using gel on your curls, such as reducing frizz and enhancing curl definition.
In conclusion, gel flaking can be a common issue for those with curly hair, but with careful consideration of product compatibility, application technique, and hair conditioning**, you can enjoy the benefits of gel without the unwanted residue.
Frequently Asked Questions (FAQs)
What is the best way to refresh curls without using water?
For quick curl refreshing sans water, mist with a curl reviving spray or scrunch in a little leave-in. Sleeping with a satin bonnet helps too. A few spritzes and scrunches morning-of can revive slept-on curls effortlessly.
How long should I wait before refreshing my curls after wash day?
Curly hair wonders, like a fine wine, patience yields the sweetest rewards. After wash day, hold your horses for at least 3-4 days before that refresh – allowing those luscious locks to fully bask in their natural glory.
Can I use a different type of towel to scrunch out the crunch?
Yes, you can scrunch out the crunch using a microfiber towel or an old cotton t-shirt. The material absorbs excess gel while fluffing your curls.
Is it necessary to use a diffuser when refreshing curls?
Not necessarily. You can refresh curls by spritzing with water and scrunching with your hands or a microfiber towel. But diffusing reactivates the gel cast for longer-lasting results.
Can I use a different product to replace gel in my curl styling routine?
Sure, you can absolutely switch up your curl routine with alternatives like mousse, custard, flaxseed gel, or hair cream. Experiment to find what works best for your unique hair needs.
Conclusion
Mastering the art of styling curly hair with gel unlocks a world of frizz-free definition. Like a sculptor meticulously shaping clay, you’ll mold bouncy, touchable curls using the gel casting technique. Embrace this transformative method, tailoring it to your unique curl pattern, and bid farewell to crunchy flakes. Confidently showcase your glorious, defined curls, allowing their natural beauty to shine.

