This site is supported by our readers. We may earn a commission, at no cost to you, if you purchase through links.
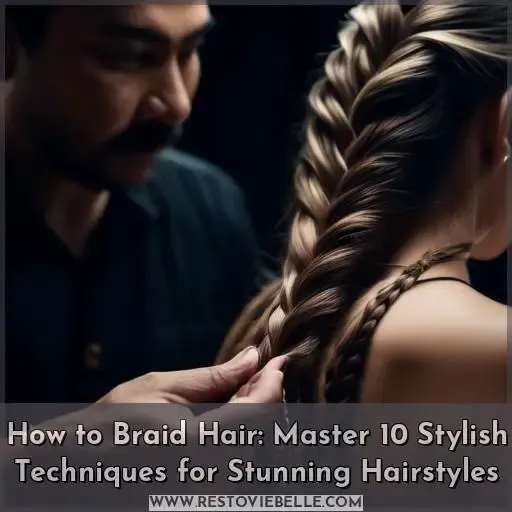
Braiding hair is an art that requires practice, but mastering a few fundamental techniques can unleash a realm of captivating hairstyles.
Commence with a basic three-strand braid, intertwining the outermost sections over the central one.
Subsequently, ascend to French or Dutch braids, seamlessly integrating new strands as you progress to augment volume.
Unleash your creativity with pull-through or fishtail braids for intricate, mesmerizing designs.
Embrace experimentation – the opportunities are boundless once you have mastered the fundamentals of hair braiding. And if you yearn to unravel even more captivating styles, there are additional techniques awaiting exploration.
Table Of Contents
- Key Takeaways
- How to Braid Hair?
- Basic Braid
- French Braid for Beginners
- Dutch Braid for Beginners
- Pull-Through Braid
- Fishtail Braid
- Waterfall Braid
- Twisted Rope Braid
- Braided Headband
- Cornrow Braid
- Separate Hair Into Three Sections
- Frequently Asked Questions (FAQs)
- How do I properly blend hair extensions with my natural hair for a seamless look?
- What is the best way to secure hair extensions to prevent them from slipping or becoming visible?
- How do I choose high-quality human hair extensions for braiding?
- Can I braid short hair, and what styles are suitable for short hair?
- How do I prevent tangling and confusion when braiding long hair?
- Conclusion
Key Takeaways
- Start with clean, detangled hair and divide it into three equal sections.
- Cross the left section over the middle section, then cross the right section over the middle section to create a basic braid.
- Master the basic braid and move on to more advanced techniques like French or Dutch braids, pull-through or fishtail braids for intricate designs.
- Experiment with different techniques and accessories to create unique styles and maintain your braids by moisturizing and washing them with sulfate-free shampoo and conditioner.
How to Braid Hair?
To braid hair, start by dividing the hair into three sections: left, middle, and right. Cross the left section over the middle section, then cross the right section over the middle section. Continue layering the left and right sections over the middle strand, using the free index finger and thumb of one hand to grab the section of hair held against the palm of the other hand. Tighten the braid as you go and keep the tension even for all three sections. When you run out of space to braid, secure the braid using a hair tie and avoid using rubber bands. For a more natural look, use a ponytail holder that matches your hair color or is translucent.
Basic Braid
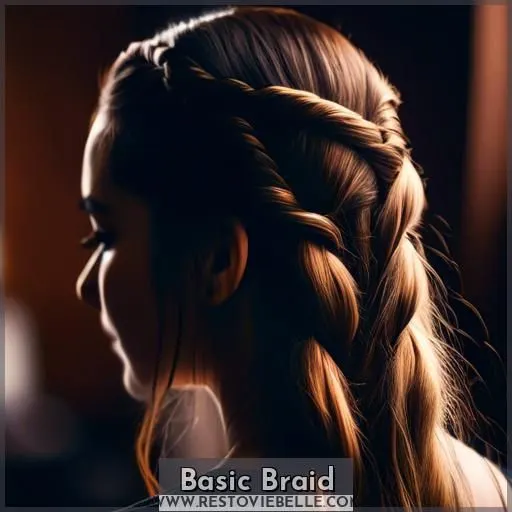
To create a basic braid, follow these steps:
- Prepare your hair: Start with clean, detangled hair. If you prefer tighter braids, use damp hair. Tie your hair into a ponytail for a secure base.
- Separate your hair: Use your fingers or a comb to divide your hair into three equal sections.
- Hold the strands: Hold the right section in your right hand and the left section in your left hand.
- Cross the sections: Cross the left section over the middle section, then cross the right section over the middle section.
- Repeat: Continue this alternating pattern until your hair is almost completely braided.
- Secure with an elastic: Once you’ve reached the end of your hair, secure it with a hair tie or elastic.
For maintenance, consider using braiding accessories like beads or clips to decorate your braids. Remember to moisturize your hair while it’s braided and keep your braids clean by washing them with a sulfate-free shampoo and conditioner. If you want to maintain your braids for a longer period, consider using glue to seal the ends.
French Braid for Beginners
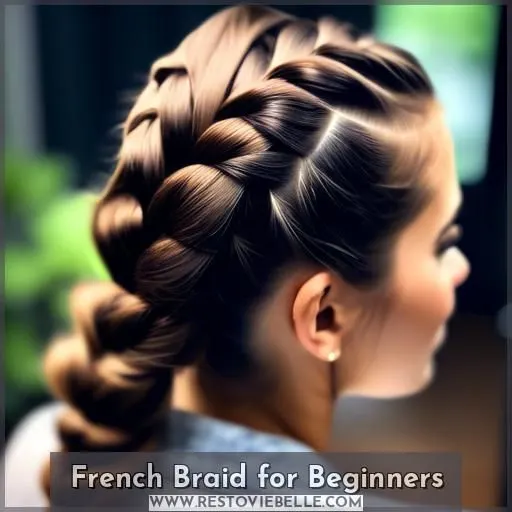
After mastering the basic braid, you’re prepared to venture into the realm of French braids, a keystone of braid innovation.
This novice-accessible approach is your gateway to novel hairstyles, ideal for daily styling.
Commencing at your apex, you’ll intertwine strands, incorporating a portion of hair with each step, creating an aesthetic that’s both adaptable and alluring.
Regardless of the length of your hair, there exists a French braid that will accentuate your facial contours.
Bear in mind that repetition fosters proficiency.
Therefore, procure a mirror and engage in the art of braiding.
Shortly, you’ll be weaving French braids with expertise, bestowing that distinctive touch to your appearance.
Dutch Braid for Beginners
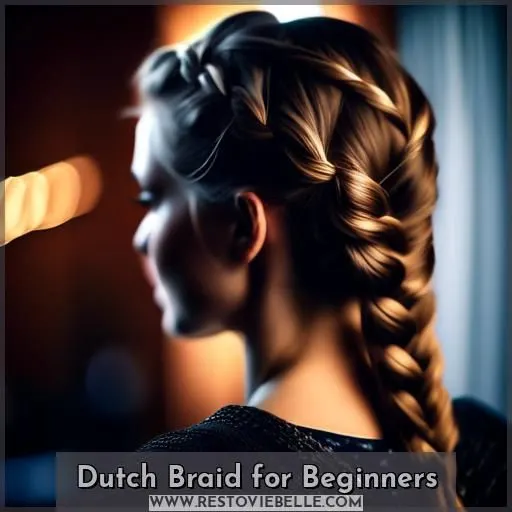
Dutch braiding, also known as underhand braiding, is a fun and unique twist on the classic French braid. It’s a great way to add some texture and volume to your hair. Here’s how to do it:
- Start with a tight French braid: Begin by creating a tight French braid, just like you’d for a regular French braid.
- Cross the side strand under the middle strand: Instead of crossing the side strands over the middle strand, cross them under the middle strand.
- Add hair as you braid back and down: As you braid, continue to add hair to the side strands, just like you’d with a French braid.
- Create a showier version of the French braid: The result is a Dutch braid, which is a bit more voluminous and eye-catching than a regular French braid.
- Experiment with different techniques: You can also try variations like the pancake braid or the hidden braid, which involve flattening and tucking sections of the braid to create a more intricate look.
Pull-Through Braid
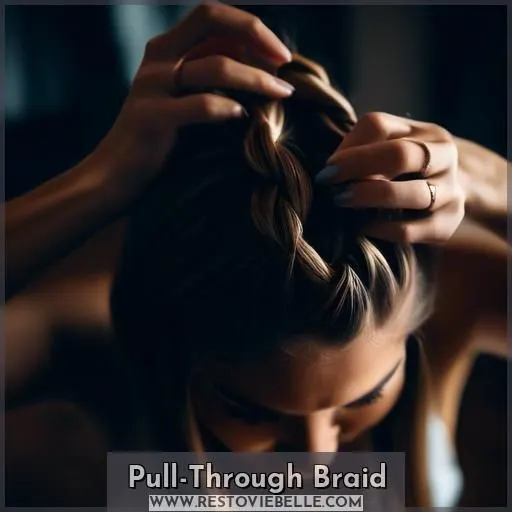
Are you eager to delve into a novel braiding technique that’s effortless, expeditious, and ideal for infusing your locks with volume? Let’s embark on an exploration of pull-through braids!
Pull-through braids are an enchanting and adaptable coiffure that can be crafted with mere rudimentary steps. They constitute a splendid alternative to conventional braids and can be fashioned on hair of medium to long length. Here’s a step-by-step guide to creating a pull-through braid:
- Commence with clean, desiccated hair. Should your hair be imbued with oil, you may employ dry shampoo to impart texture and volume.
- Fashion a diminutive ponytail at the zenith of your cranium and secure it with a diaphanous elastic.
- Invert the ponytail to the fore, keeping it out of the way.
- Create a second ponytail directly beneath the initial one, ensuring that the two ponytails are utterly discrete.
- Divide the original ponytail into two strands and disperse them to the sides of your head.
- Garner additional hair beneath and initiate the creation of a third ponytail positioned below the second.
- Integrate the two strands from your primary ponytail (situated on the sides of your head) into the third ponytail, encasing the lower ponytail.
- Iterate steps 4-7 until the entirety of your hair is secured, leaving you with two ponytails at the nape of your neck.
- Persistently divide your upper ponytail into two strands and envelop it around the lower ponytail, securing it posteriorly.
- Upon reaching the terminus of your ponytail, you may relax the braid in each section to generate the semblance of volume.
Pull-through braids are a superb method of injecting a vibrant hue or texture into your hair. You may incorporate hair extensions or clip-ins to enhance the fullness and length of your braid. They’re particularly well-suited for long hair, but if your hair is shorter, you can still execute the braid by drawing back a portion of hair into a ponytail and securing it with an additional elastic band.
Fishtail Braid
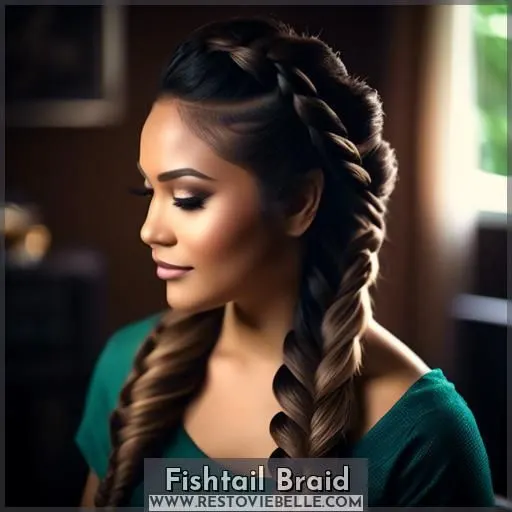
Ready to weave some mermaid magic into your locks? Let’s plunge into the fishtail braid, a style that’ll have you looking like ocean royalty. Here’s how to get that fishtail flair:
- Split your hair into two equal parts.
- Take a tiny strand from the outside of one section and cross it over to the other.
- Repeat on the opposite side, alternating to create that intricate, herringbone pattern.
- Continue until you reach the end and secure with an elastic.
Transform this braid into a fishtail bun for elegance, a fishtail ponytail for casual chic, a fishtail crown for regal vibes, or a fishtail headband for a touch of whimsy.
Waterfall Braid
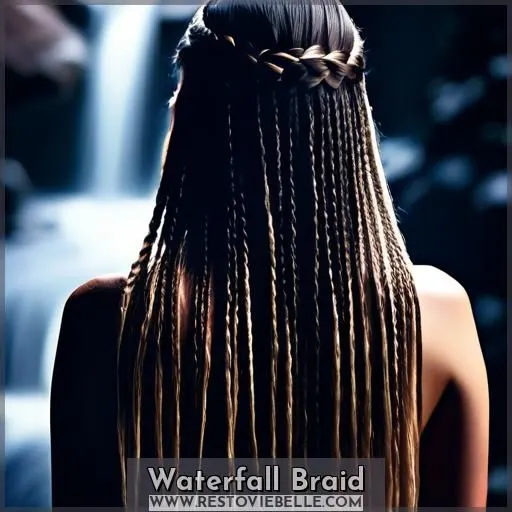
Waterfall braids are a stunning, easy-to-achieve hairstyle that adds a touch of whimsy to any look. This braid involves starting with a small section of hair near your forehead, dividing it into three equal parts, and making a complete braid sequence by crossing the left portion over the middle section, followed by the right portion. Then, you braid in another section of hair, making sure to cross the left portion over the middle, but letting the right portion fall to the side in order to create the waterfall effect**. Continue this process until the braid comes down to around your ear, and secure it with an elastic band or hair clip.
For a more casual, messy waterfall braid, you can start the braid like you’d a regular braid, weaving three strands of hair together. Then, create the waterfall effect by adding a portion of hair to the far left strand and letting go of the right strand. Repeat this process until the braid is the length you want it, and secure it with a hair tie or hair clip.
Waterfall braids can be worn with the rest of your hair down, making them a great option for a night out or a special occasion. They can also be worn as a half-updo, which is perfect for keeping long or thick hair out of your face while still looking stylish.
To make a waterfall braid, you’ll need a section of hair near your forehead, a comb or brush, a hair tie or bobby pins, and styling products (optional). Start by gathering a section of your hair near your forehead, separating it into three equal parts, and making one complete braid sequence. Then, braid in another section of hair, making sure to cross the left portion over the middle, but letting the right portion fall to the side in order to create the waterfall effect. Continue this process until the braid comes down to around your ear, and secure it with an elastic band or hair clip.
Remember to brush and part your hair before you start braiding, and consider creating a side part to enhance the cascading look of your braid. If your braid is too loose, pull your hair back toward your crown to help create a smooth style. And don’t forget to have fun with it – waterfall braids are all about adding visual interest to your hairstyle.
Twisted Rope Braid
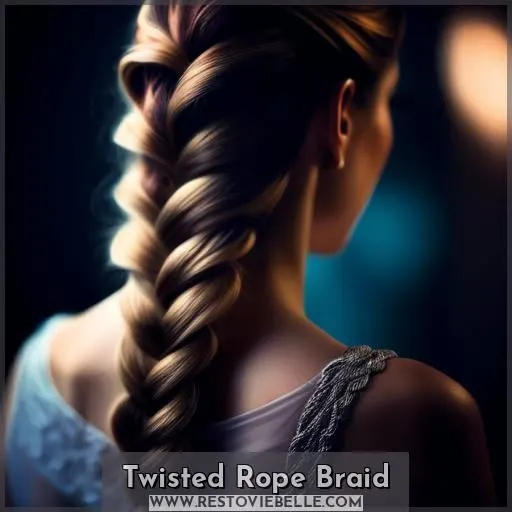
Ready to rock a twisted rope braid? Here are four essential tips to make sure your hairstyle is on point:
- Choose the right thickness: The thickness of your rope braid depends on your hair texture. For fine hair, opt for a thinner rope braid to avoid a bulky appearance. For thicker hair, go for a thicker rope braid to create volume and texture.
- Embellish your braid: Add a touch of glamour to your twisted rope braid by incorporating embellishments. Try adding beads, ribbons, or even small flowers to your braid for an extra pop of style.
- Consider styling ideas: A twisted rope braid is versatile and can be styled in various ways. For a casual look, try a high pigtail or a messy bun. For a more formal event, consider a sleek low bun or a twisted rope braid updo.
- Experiment with different lengths: The length of your twisted rope braid can also affect the overall look. Try a short braid for a playful, youthful vibe or a longer braid for a more sophisticated, bohemian style.
Braided Headband
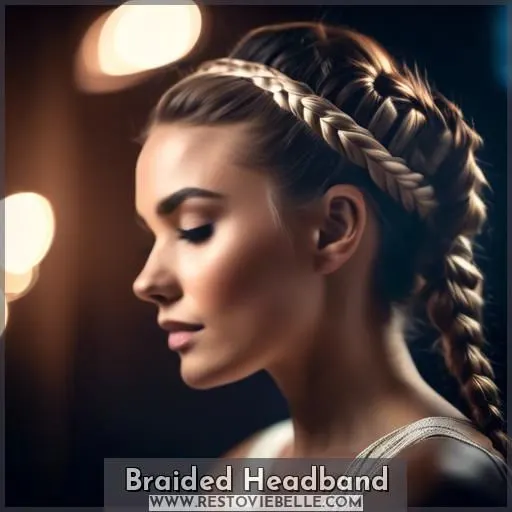
A braided headband is a chic and versatile hair embellishment that can elevate your look for any occasion. To create a braided headband, follow these steps:
- Separate a small section of hair from your head, about 2-3 inches wide.
- Divide the section into three equal parts.
- Begin braiding the headband by crossing the right strand over the middle strand, then the left strand over the middle strand.
- Continue braiding until you reach the end of the section.
- Repeat the process on the other side of your head, creating a symmetrical headband.
- Secure the ends of the headband with a clear elastic or a hair tie.
For a more detailed guide, refer to the table below:
| Step | Instruction |
|---|---|
| 1 | Separate a small section of hair |
| 2 | Divide the section into three equal parts |
| 3 | Begin braiding by crossing the right strand over the middle strand |
| 4 | Cross the left strand over the middle strand |
| 5 | Continue braiding until you reach the end of the section |
| 6 | Repeat the process on the other side of your head |
| 7 | Secure the ends of the headband |
This headband style can be dressed up or down, making it perfect for coordinating outfits for special occasions or simply adding a touch of elegance to your everyday look.
Cornrow Braid
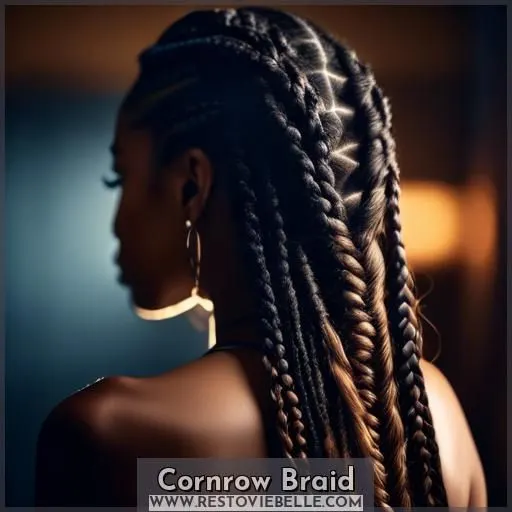
Ready to rock some cornrow braids? These protective hairstyles are all about scalp braids and traditional African braids. You’ve got the option to add hair extensions for a little extra flair. Here’s how to do it:
- Start with clean, dry hair.
- Part your hair into sections, making sure they’re even.
- Use a rat-tail comb to create a straight parting line.
- Take a small section of hair from the first parting and begin braiding.
- Continue braiding along the parting line, adding more hair to each section as you go.
- Once you reach the end of your hair, secure with a hair tie or a bead.
Separate Hair Into Three Sections
Separating your hair into three equal sections is the groundwork for any braid. This technique is vital for achieving a harmonious and refined appearance. Here are three recommendations to guarantee a successful braid:
- Untangle hair before braiding: Brush through your hair to remove any tangles or knots. This will simplify the separation of your hair into three sections and prevent any damage during the braiding process.
- Utilize damp hair for tighter braids: If you desire a tighter braid, consider braiding your hair while it’s slightly damp. This will facilitate the strands’ adherence and minimize the likelihood of flyaways.
- Tie hair into a ponytail for a secure foundation: Prior to commencing braiding, gather your hair into a ponytail. This will provide a stable foundation for your braid and enhance its workability.
Frequently Asked Questions (FAQs)
How do I properly blend hair extensions with my natural hair for a seamless look?
You’ll want to leave out some face-framing pieces from your braids to blend in extensions seamlessly. Layer the tracks between your natural hair using a rat-tail comb for a flawless, undetectable finish. Take your time and secure every weft tightly.
What is the best way to secure hair extensions to prevent them from slipping or becoming visible?
Like a good foundation holds up a house, properly securing hair extensions is key. Use seamless weft techniques or micro-ring methods – they’ll keep those luscious locks firmly in place without any sneaky slippage or visible tracks peeking through.
How do I choose high-quality human hair extensions for braiding?
Look for 100% Remy human hair extensions – they’re high-quality and tangle-free. Check the wefts are sturdy and the cuticles run in one direction for a smooth finish. Reputable brands offer different textures to match your natural hair perfectly.
Can I braid short hair, and what styles are suitable for short hair?
Yes, you can totally rock braids with short hair! Milkmaid braids, small French braids, or even a cute braided headband add fun texture. Don’t be afraid to get creative – short hair has no bounds regarding cute braided styles.
How do I prevent tangling and confusion when braiding long hair?
In the digital age, detangle your locks before braiding, brochacho. Use a good spritz of leave-in conditioner and your fingers to gently work through knots. Then divide that mane into manageable sections – it’ll prevent a hairy situation later on, trust me.
Conclusion
You’ve now unlocked the secrets of hair braiding, gaining access to a wide range of stylish techniques to enhance your hairstyling abilities.
From fundamental braids to complex designs, these skills equip you to craft alluring looks with ease.
Embrace your newfound wisdom.
Explore boldly, and transform your locks into a medium for self-expression.
The realm of braiding eagerly awaits your artistic flair.
