This site is supported by our readers. We may earn a commission, at no cost to you, if you purchase through links.
Getting box braids installed can be a time-intensive process.
For small or medium-sized braids with fine to medium hair density, you’re looking at 4-8 hours in the stylist’s chair.
Larger braid sizes and thicker hair textures may extend the braiding time to 10-12 hours.
Your braider’s experience level markedly influences the installation duration too.
Factors like braid size, hair thickness, and your stylist’s expertise determine how long box braids take.
Want to better understand the timeline? We’ll explore the nitty-gritty details influencing the braiding process.
Table Of Contents
Key Takeaways
- The process can range from 4-12 hours depending on factors like braid size, hair thickness, and the braider’s experience level
- Smaller, intricate micro braids take significantly longer than jumbo, chunky box braids
- Proper preparation like detangling, sectioning, and deep conditioning is crucial for an efficient installation
- While DIY braiding is cheaper, using a skilled professional ensures quality work and prevents damage from improper techniques
How Long Do Box Braids Take?
How long do box braids take? Box braids can take anywhere from 4 to 10 hours depending on the length and thickness of your hair, as well as the braider’s experience.
What Are Box Braids?
Box braids are neat, square-shaped braids that extend from root to tip, giving you a bold, textured look.
You can rock them in different thicknesses – micro for a sleek style or jumbo for that chunky, standout vibe.
Switch up the pattern, add color, or accessorize to express your creativity.
These braids are a versatile protective style that can last 6-8 weeks with proper care.
Mastering the technique offers a myriad of styling options for boundless hair expression.
Box Braid Styling Options
Box braids offer diverse styling options, each affecting the total braiding duration. Micro box braids, featuring fine, pencil-width braids, require considerably more time to complete than jumbo box braids with wider braids. Knotless box braids, which eliminate the traditional knot at the base, also necessitate additional time and care during installation.
Micro Box Braids
You’re ready for micro box braids—those delicate, intricate plaits with a sleek finish. Expect:
- A painstaking process suited for finer hair textures
- Increased braiding time due to hair thickness and braid density
- Potential scalp sensitivity from tight, compact braiding
- Higher costs reflecting the detailed work required
Embrace the ultra-chic result, but be patient—these tiny tresses demand a sizable investment of time and effort.
Jumbo Box Braids
Jumbo box braids give you that thick, voluminous look. These chunky, eye-catching braids are perfect for those craving a bold, eye-catching style. Though jumbo braids use more hair, they’re faster to install than micro braids, cutting braiding time. Keep jumbo braids moisturized and slept on a satin pillowcase to maintain their luscious, full appearance.
Knotless Box Braids
Knotless box braids are your ticket to freedom – a knotless, seamless look that’s easy on your hair and scalp. You’ll need:
- Hair extensions
- Rat-tail comb
- Edge control
Knotless braiding is an art, but with practice, you’ll be a master. Just imagine the versatility – from work to workouts, knotless box braids have got you covered. Plus, they’re low-maintenance, so you can focus on slaying your day.
Box Braiding Time Factors
The time required for box braiding mainly depends on three key factors:
The braider’s experience level
The desired braid size and length
The thickness of the client’s natural hair
With a seasoned braider, small or medium-sized braids, and fine to medium hair density, the process could take anywhere from 4-8 hours.
While beginners, larger braid sizes, and thicker hair textures may extend the braiding time up to 10-12 hours.
Braider’s Experience Level
Beginners take longer due to slower technique and pauses.
Experienced braiders create box braids more swiftly with skilled hands.
But even veterans require breaks for washroom, meals, etc.
Therefore, if longevity is important, book a braider whose pace and endurance align with the intricacy of your desired style.
Inquire about their experience with diverse box braid styles before scheduling.
Braid Size & Length
Braid size directly impacts braiding time. Thick jumbo braids are quicker but add weight, while micro braids maximize styling but quadruple time. Carefully consider:
- Desired look: face-framing or bold statement?
- Hair density: thick or fine strands?
- Extension quality: synthetic or real hair?
Client’s Hair Thickness
Your client’s hair thickness impacts braiding time too. Thicker hair density = more time. Thinner hair = faster. Here’s a handy table:
| Hair Thickness | Estimated Braiding Time |
|---|---|
| Very Thin | 4-6 hours |
| Thin | 5-7 hours |
| Medium | 6-8 hours |
| Thick | 7-10 hours |
| Extremely Thick | 8-12+ hours |
Thick hair requires extra care to avoid damage from tightly-pulled braids. Build in breaks for hand cramps. Stay hydrated – braiding’s a marathon!
Preparing Hair for Braiding
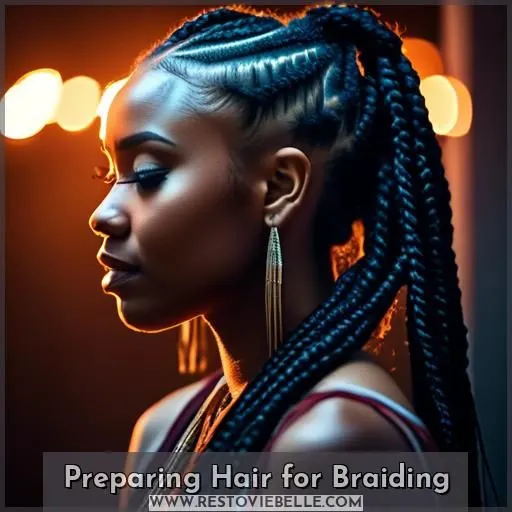
Before starting the braiding process, you should deep condition your hair to improve its manageability and prevent breakage. Detangling and sectioning your hair into workable parts will make the installation process smoother and more efficient.
Deep Conditioning Treatment
Preparing your hair is essential before box braiding.
Commence by deep conditioning – this softens strands, enhances porosity, and averts breakage during installation.
Opt for a protein-rich conditioner to stimulate growth and maintain scalp well-being.
For added hydration, incorporate hot oils or a leave-in afterward.
Anti-itch oils containing peppermint or tea tree can alleviate scalp irritation as well.
Ensure to thoroughly rinse out any product accumulation with water prior to parting and braiding.
Maintaining cleanliness and hydration from the onset is paramount for enduring, comfortable braids.
Detangling & Sectioning
Once your hair is deep conditioned, it’s detangling time! Use your fingers or a wide-tooth comb to gently work through those knots – no tugging, you don’t want breakage.
Sectioning is next – part your hair into square or rectangular sections, keeping them neat and organized. The size? Up to you – smaller sections mean longer install time but neater braids.
Be thorough in this prep stage – detangling thoroughly and sectioning precisely will make braiding smoother and keep those braids looking fresh.
Oh, and stock up on braid sprays, bonnets, and silk pillowcases – you’ll need them for maintenance!
Step-by-Step Box Braiding Guide
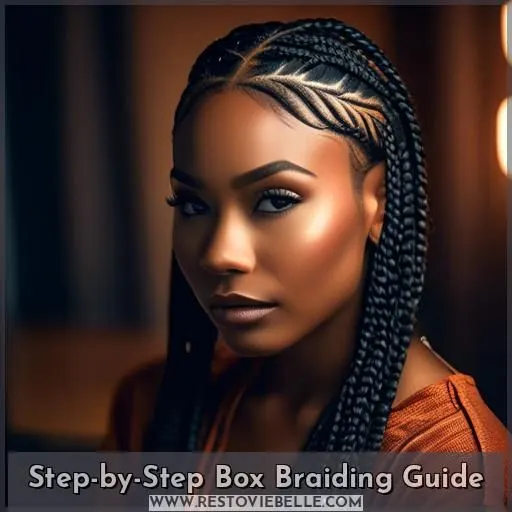
The essence of box braiding lies in the parting and braiding technique.
Where you’ll create precise square or rectangle sections.
And incorporate synthetic hair extensions as you braid towards the ends.
Securing the braid extensions effectively.
And seamlessly merging them with your natural hair.
Are vital steps to achieve a polished, enduring look.
Followed by sealing the braids with an oil-based product.
Parting & Braiding Technique
After deep conditioning and detangling, section hair into manageable parts. Make sure parting patterns are neat, with angles forming square boxes.
- Part in straight rows, keeping sections small for tension control.
- Braid under-hand for consistent tightness and angled plaits.
- Check your reflection regularly to maintain symmetrical parts.
Braiding takes serious finger dexterity – don’t cram those digits! Stay hydrated, and rest those hand muscles when needed.
Securing Braid Extensions
After securing your natural hair with an extension, secure the braid effectively. Maintain a balance of tension – not too tight, risking scalp irritation, nor too loose, jeopardizing longevity. Utilize high-quality braid extensions to preserve hair well-being. Strive for excellence by:
| Action | Benefit | Warning |
|---|---|---|
| Balanced Tension | Comfort & Longevity | Avoid Traction Alopecia |
| Excellent Extensions | Reduced Shedding | Low-Quality = Damaged Hair |
| Equal Partings | Uniform Style | Uneven Stress on Scalp |
Master braiding for flawless, safe styles. Your hair merits it!
Blending & Sealing Braids
Once you’ve secured the braid extensions, it’s time for blending and sealing. Blend the extensions seamlessly into your natural hair by gently raking them with your fingers. Then, apply a braid sealant to:
- Lock in moisture
- Smooth flyaways
- Add shine
- Prolong braid life
With a little finesse, your box braids will look sleek and polished, ready for any adventure!
At-Home Vs Professional Braiding
Box braiding at home can be a time-consuming and intricate process, often taking beginners 8-12 hours to complete, while experienced braiders may finish in 4-8 hours. Opting for professional braiding services streamlines the process and guarantees quality, albeit at a higher cost ranging from $100 to $600, depending on factors like stylist expertise, braid size, length, and hair extensions used.
Time & Cost Comparison
You’ve nailed the braiding technique, now let’s talk time and cost. Doing box braids yourself can save serious dough, but it’s a marathon. Check this out:
| Braid Size | Avg. Pro Time | Avg. DIY Time | Pro Cost |
|---|---|---|---|
| Micro | 6-8 hours | 10-14 hours | $200-$400 |
| Medium | 4-6 hours | 8-12 hours | $150-$300 |
| Jumbo | 2-4 hours | 6-10 hours | $100-$250 |
The smaller the braid, the more time and cash. But with practice, you’ll slash those DIY hours and keep that money in your pocket. Just be patient—it’s an investment in time or money.
Difficulty Level Assessment
Let’s be honest, trying box braids on your own is a formidable undertaking, even for the most nimble fingers. The complexity depends on three crucial factors:
- Your braiding expertise (or absence thereof)
- The elaborateness of the intended braid size
- The thoroughness of your preparation of your client’s (or your own) hair
While more economical, DIY braiding often leads to inferior styling and possible hair damage. Engaging a skilled professional guarantees impeccable execution, taking into account the braider’s experience, client preparation, and the range of braid sizes and styles available. But hey, there’s no harm in experimenting – just don’t overestimate your capabilities, or you may end up a knotted mess!
Hair Care During Braiding
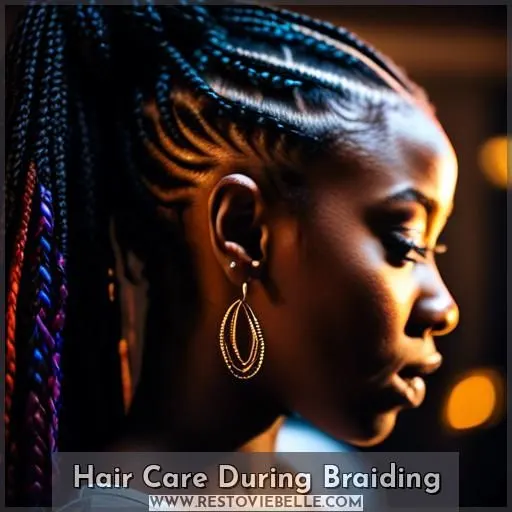
You’ll need to maintain moisture in your braids and scalp while they’re installed. Regularly spritz your braids with a moisturizing mist and apply a lightweight oil or cream to your scalp. When sleeping, use a satin or silk scarf to prevent frizz and protect your braided hairstyle.
Moisture & Scalp Maintenance
Maintaining moisture and scalp health is essential during your box braiding journey. Regularly spritz your braids with a hydrating mist, like rose water or aloe vera juice. Massage your scalp with nourishing oils like coconut or jojoba, preventing dandruff and promoting braid health.
| Moisture Routine | Description |
|---|---|
| Nightly Spritzing | Lightly mist braids before bed to combat dryness. |
| Weekly Deep Condition | Apply a deep conditioner to braids, covering every inch. |
| Scalp Massage | Gently massage scalp with oils, promoting blood flow. |
| Product Rotation | Alternate between leave-ins, serums, and creams. |
Sleeping & Protective Styling
Nighttime box braid care is essential, as your braids are susceptible while you toss and turn.
A silk or satin pillowcase and bonnet minimize friction, reducing frizz and breakage.
If braiding overnight, wrap your head to avoid indentations on fresh braids.
For comfort, use a neck pillow or satin scarf to support your head and relieve tension.
Avoid sleeping directly on braids, as the weight can weaken them over time.
With proper sleep protection, you’ll wake up with sleek, frizz-free braids that slay all day!
Maximum Braid Wearing Timeline
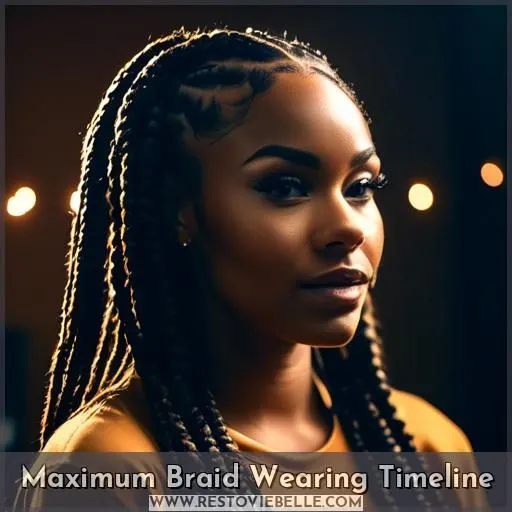
The maximum time you should keep box braids installed depends on your hair type and how tightly the braids were installed.
For finer hair textures, aim to keep braids in for no longer than 2-3 weeks. This will prevent excessive shedding and breakage.
For those with thicker, coarser hair, they can typically keep their braids for 6-8 weeks if the braids are not too tight.
Hair Type Considerations
You’ve gotta factor in your hair type when deciding how long to rock those box braids. Thick, coily hair? You can keep ’em in for up to 8 weeks. But if your strands are:
- Fine or thin
- Damaged or over-processed
- Short in length
Then aim for 2-4 weeks max. Thicker braids last longer than delicate micros too. And don’t forget about your scalp – if it’s sensitive, you may need to remove braids sooner to avoid irritation. Hair density also plays a role – the denser your mane, the longer those braids can safely stay.
Braid Tightness Implications
That 8-week limit isn’t just a suggestion – leaving box braids in longer invites scalp irritation, hair breakage, and even tension headaches.
Those tight braids tugging on your follicles inhibit healthy hair growth and can lead to traction alopecia if you’re not careful.
Your best move? Take them out once you hit that 8-week mark.
Your scalp (and future hairline) will thank you.
Don’t let the style you love damage the hair you adore – respect those time limits, friend.
Safe Braid Removal Process
To avoid excessive shedding when removing box braids, you’ll want to take your time and gently unravel each braid, being careful not to pull or tug on your natural hair. After removing all the braids, it’s essential to deeply condition your hair to restore moisture and strength, as the braiding process can be drying and cause breakage.
Avoiding Excessive Shedding
You’ve rocked those box braids, but now it’s time for a fresh start.
Avoid excessive shedding with a proper takedown: moisturize your scalp, wash regularly, and never force those braids.
Tight braids are a recipe for disaster, so loosen them gently.
A proper takedown is key to avoiding a hair-raising experience.
Once those braids are history, give your tresses some TLC with a moisturizing scalp treatment.
Just like that, you’re prepped and ready for your next head-turning style!
Post-Braid Deep Conditioning
After removing those braids, you’ll want to give your strands some major TLC.
A deep conditioning treatment will revive your thirsty tresses and restore the moisture loss. Don’t skip this essential step—your hair has been bunched up for weeks!
Apply a nourishing deep conditioner, focusing on your ends which were exposed. Let it marinate, then rinse thoroughly.
Keep moisturizing that scalp with a leave-in and protective styling until your next wash day.
Bedtime protection is also key to preserving those fresh, featherlight curls post-braid bliss.
Conclusion
Whether braiding micro, jumbo, or knotless box braids, comprehending how long do box braids take is essential.
From your stylist’s experience to hair density, various elements impact the process’s duration.
Adequate preparation, sectioning, and braiding skill guarantee efficient installation.
While professional braiding saves time, home attempts demand skill.
Track braid tightness, hydrate, and quickly remove braids to prevent excessive shedding.
A knowledgeable approach ensures a successful, long-lasting box braid experience.


